17 Jan Abaqus Associative Interface for SOLIDWORKS installation
Abaqus Associative Interface for SOLIDWORKS
The Abaqus Associative Interface is specifically designed to seamlessly integrate with SOLIDWORKS users, offering a direct conduit for transferring geometry from SOLIDWORKS to Abaqus/CAE. This interface empowers users to effortlessly transmit individual components or complete assemblies from SOLIDWORKS to Abaqus/CAE with just a single click. Notably, any updates made to the model in SOLIDWORKS can be swiftly imported into Abaqus/CAE without compromising pre-defined analysis settings. Facilitated by a dedicated plugin for SOLIDWORKS, this integration is efficiently managed through the CAD Connection tools in Abaqus/CAE.
Obtaining the correct Abaqus Associative Interface for SOLIDWORKS
The SolidWorks Associative Interface allows transfer of CAD data between specific versions of SolidWorks and Abaqus/CAE. Use the matrix on this webpage to identify the appropriate version of the SolidWorks Associative Interface for the indicated product pairings.
Abaqus Associative Interface for SOLIDWORKS Installation Procedure
Download the Plugin
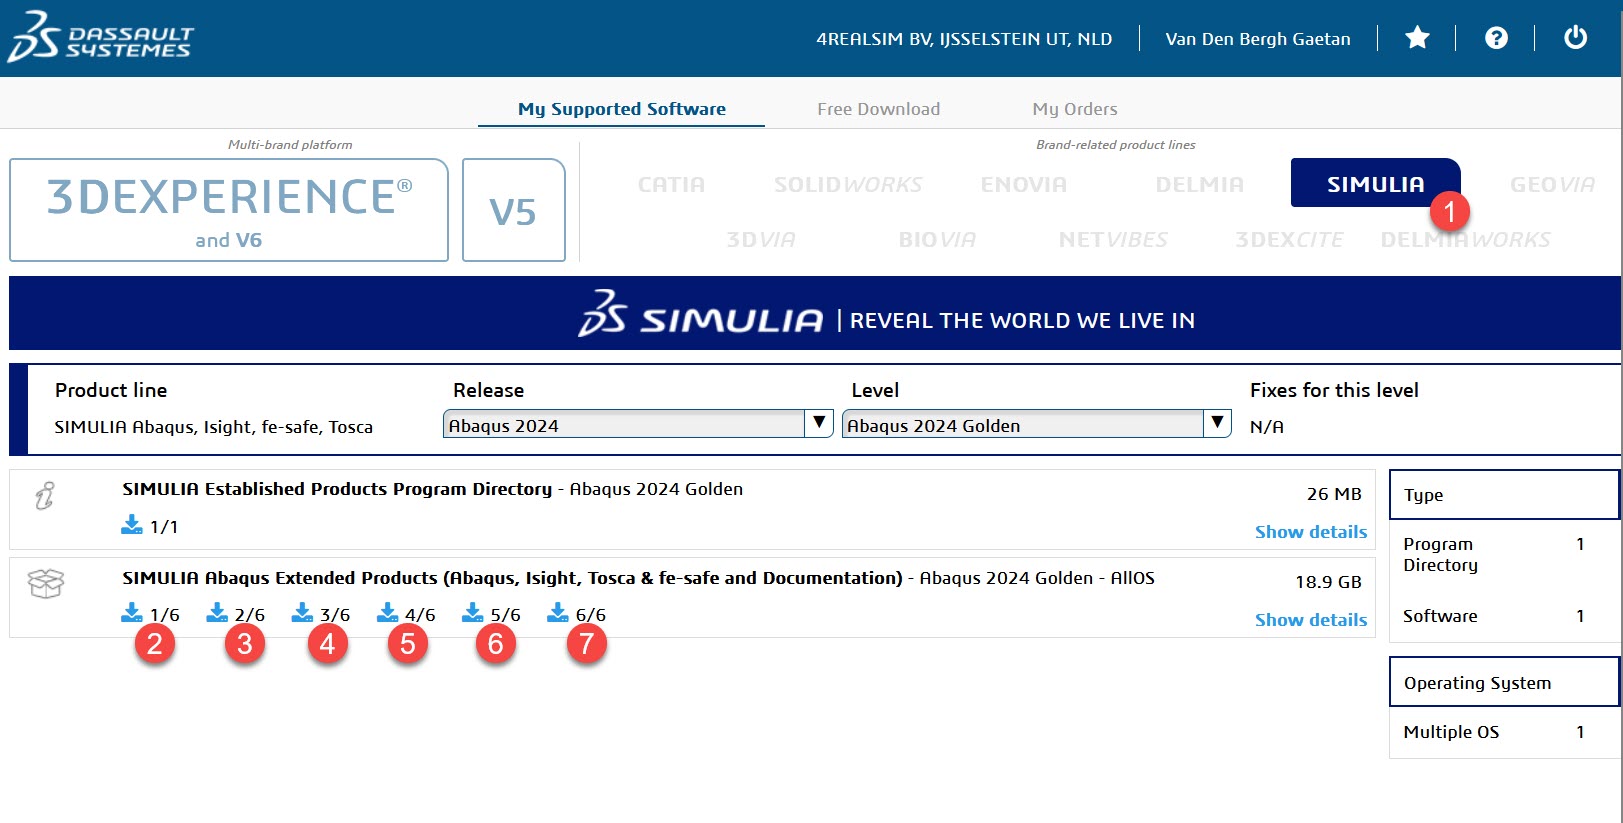
The plugin is available in the Abaqus installation files which can be obtained from software.3ds.com.
Option 1
Download the golden release of Abaqus and go to the folder below to find the SolidWorks Associative Interface: AM_SIM_Abaqus_Extend.AllOS\1\SIMULIA_Abaqus_AI\SIMULIA_Abaqus_AI.AllOS
\1\SolidWorks_2.X_Associative_Interface\SAI_2.X\SAI_2.X
Option 2
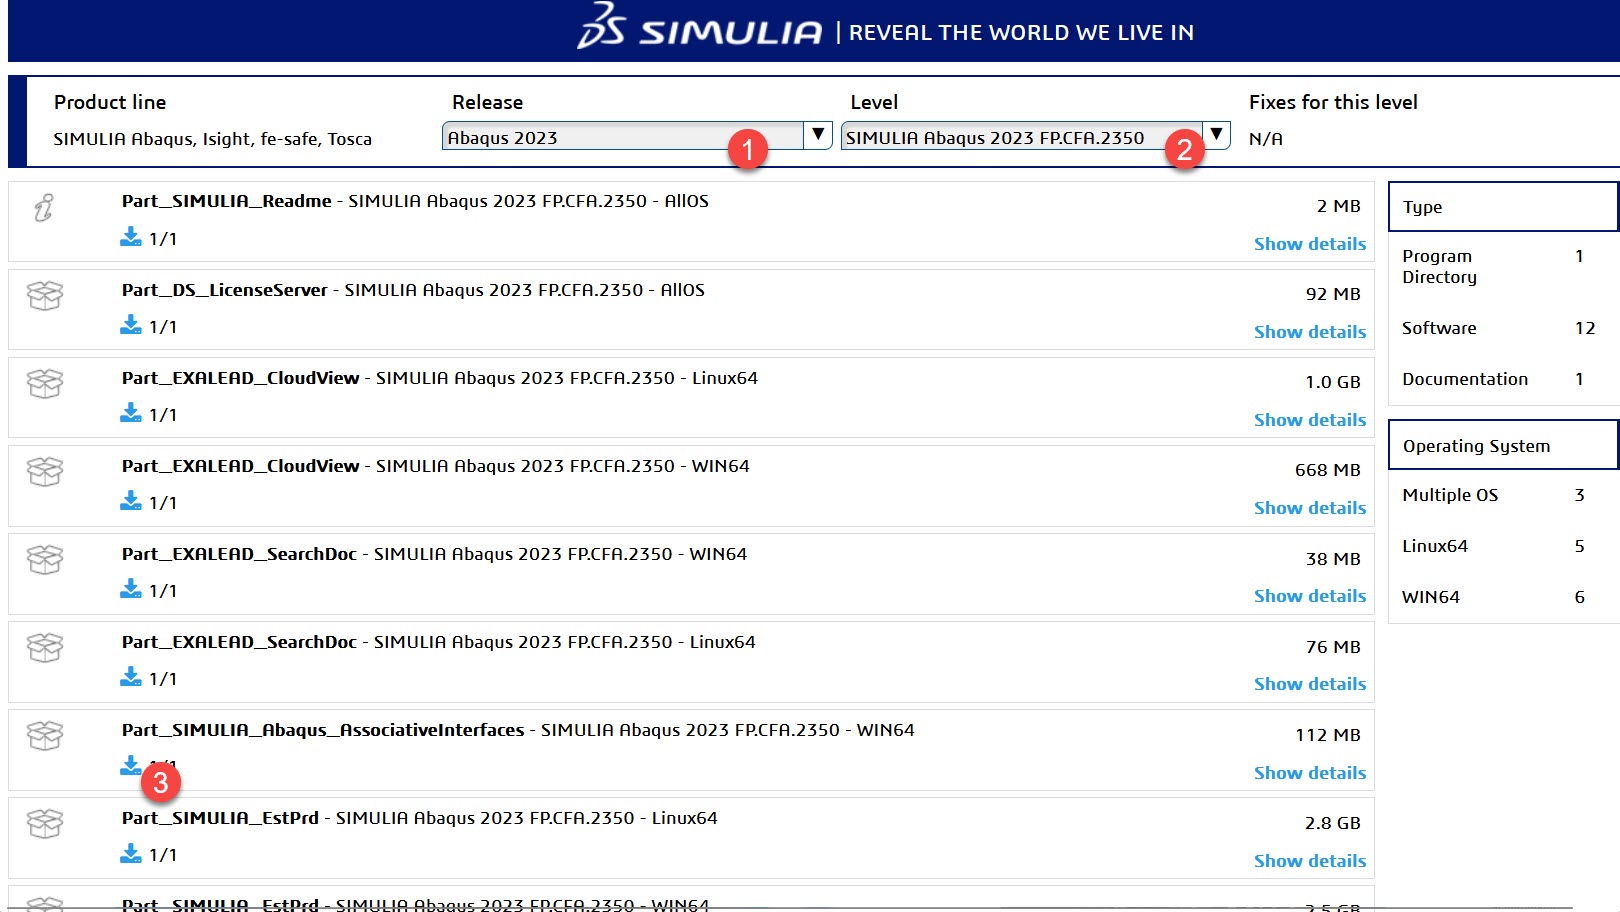
Download the Abaqus Associative Interfaces from a certain Hot Fix release.
Add the Abaqus/CAE SolidWorks Add-in
Prerequisites
Make sure you possess administrative privileges on your computer.
Before adding the plugin, ensure that SOLIDWORKS is installed and licensed on your system.
Installation Steps
- Launch SOLIDWORKS with Windows administrative privileges
- Once within SOLIDWORKS, access File > Open from the main menu.
- In the Files of type field, select Add-Ins (*.dll).
- Browse to the directory containing the add-in file, pick the relevant .dll file, and click Open.
- SOLIDWORKS will proceed to install the “SOLIDWORKS Associative Interface” add-in.
Enabling the SOLIDWORKS Associative Interface Add-in
- Access the SOLIDWORKS main menu and proceed to Tools > Add-Ins, triggering the appearance of the Add-Ins dialog box.
- In the Add-Ins dialog box, locate the SOLIDWORKS Associative Interface add-in labeled Abaqus/CAE within the Other Add-ins section.
- To activate the add-in for the current session, mark the box in the Active Add-ins column.
- If you want to ensure the add-in is enabled for every SOLIDWORKS session, check the box in the Start Up column.
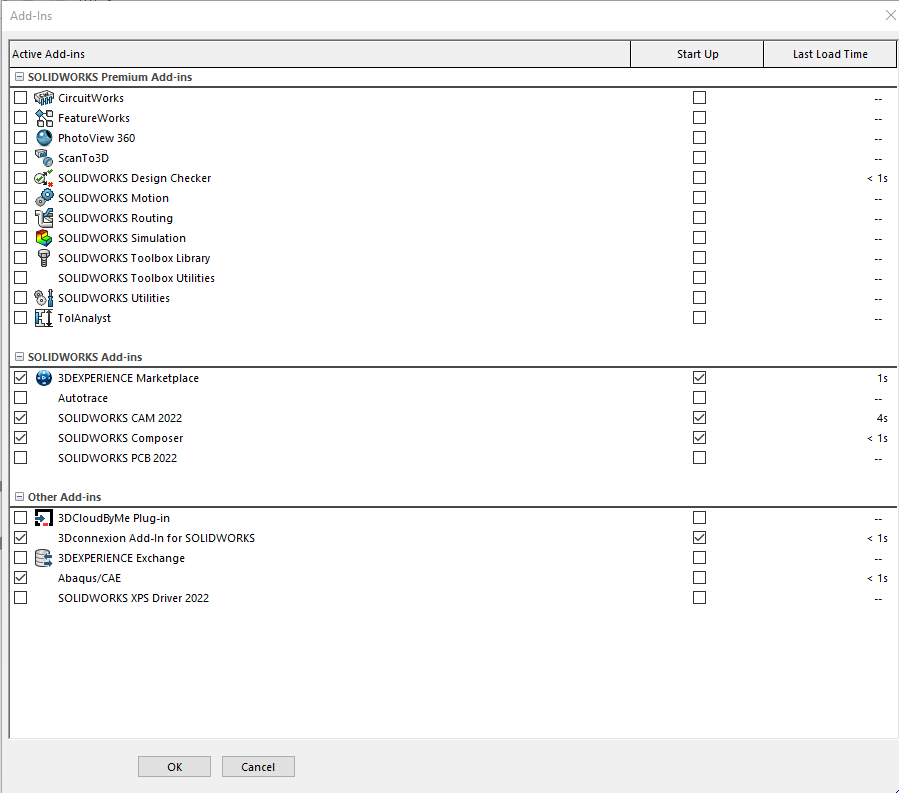
- After making your selections, click OK.
Upon activation, if you opted for the Active Add-ins feature for the SOLIDWORKS Associative Interface add-in, Abaqus will now be accessible in the SOLIDWORKS main Tools menu.
Additionally, you will find the Export to Abaqus/CAE icon in the SOLIDWORKS toolbar.
Utilizing the Associative Interface Plugin
- Commence by launching Abaqus/CAE and navigate to the Assembly module.
- In the main menu bar, go to Tools > CAD Interfaces > SOLIDWORKS.
- A SOLIDWORKS dialog box will emerge.
- Choose Auto-assign port and click Enable.
- Abaqus/CAE will indicate the assigned port number in the message area. If you prefer to assign a specific port, click Specify port and enter the desired port number.
- Next, open SOLIDWORKS and load the model slated for export.
- Select the Export to Abaqus/CAE option, visible in the SOLIDWORKS PropertyManager.
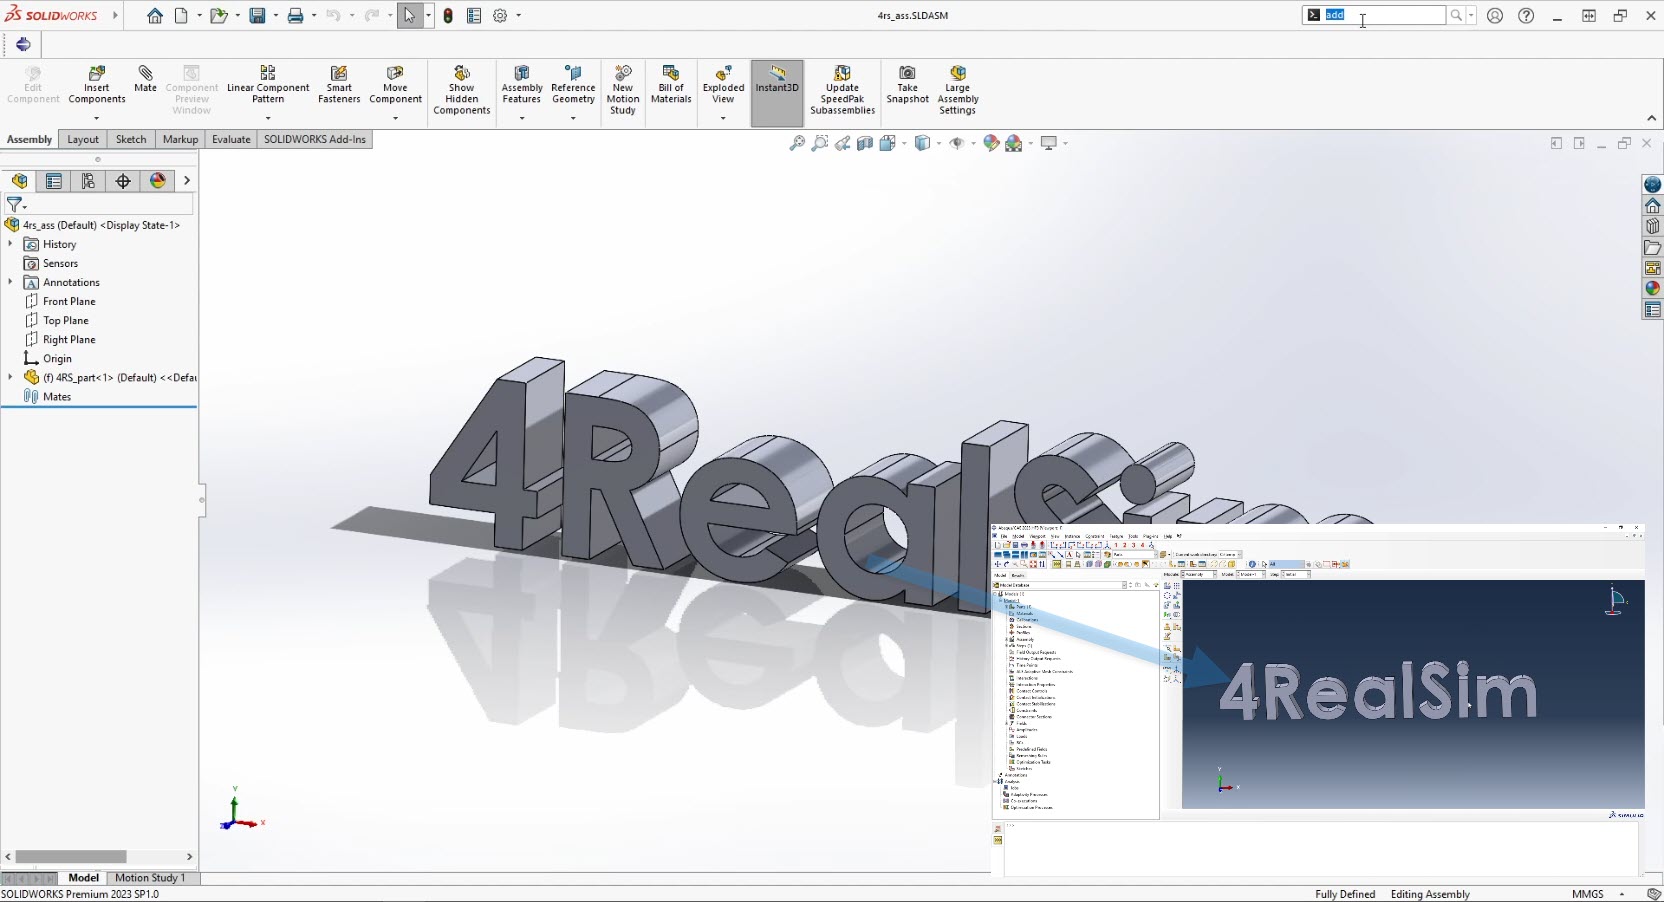
The plugin in action is illustrated below.
Do you need more info?
If you need more info, do not hesitate to contact us or write us an email to sales@4realsim.com

